Applying for Octant v2 funding via Atlas
What you’ll need before you start
- An Ethereum wallet that you control. Atlas uses Sign-In with Ethereum (SIWE, EIP-4361), so you sign in with your wallet instead of using an email address and password.
- An invitation code, if this is your first time using Atlas. You can get one from the Octant team.
- A payout address. This is the wallet address that should receive funds if your application is awarded funding. It can be the same as your sign-in wallet, or a separate treasury or multisig.
- About 5–10 minutes to complete the application. Drafts auto-save after every step, so you can leave and come back later.
- Application content, including:
- a short one-sentence pitch for your project;
- a 2–4 paragraph description of what you’re building;
- your project category and stage;
- your funding goal in USD;
- a short plan for how you’ll use the funding;
- links to your work, such as your website, repo, app, or demo.
Media uploads will be supported in a future update.
The journey at a glance
The end-to-end flow has five phases:
- Redeem your invitation code and sign in with your wallet.
- Launch your project by creating your project profile and confirming your payout address.
- Use the Atlas dashboard as your home base. From here, you can see open round invitations and start an application.
- Apply to a round by completing a short questionnaire about your project.
- After submission, your public profile goes live and your dashboard reflects the new application.
During beta testing, Atlas is available only to selected partners. You will need an invitation code from the Octant team to access the application flow.

Phase 1 — Sign in with your Ethereum wallet
Visit https://apply.octant.app.
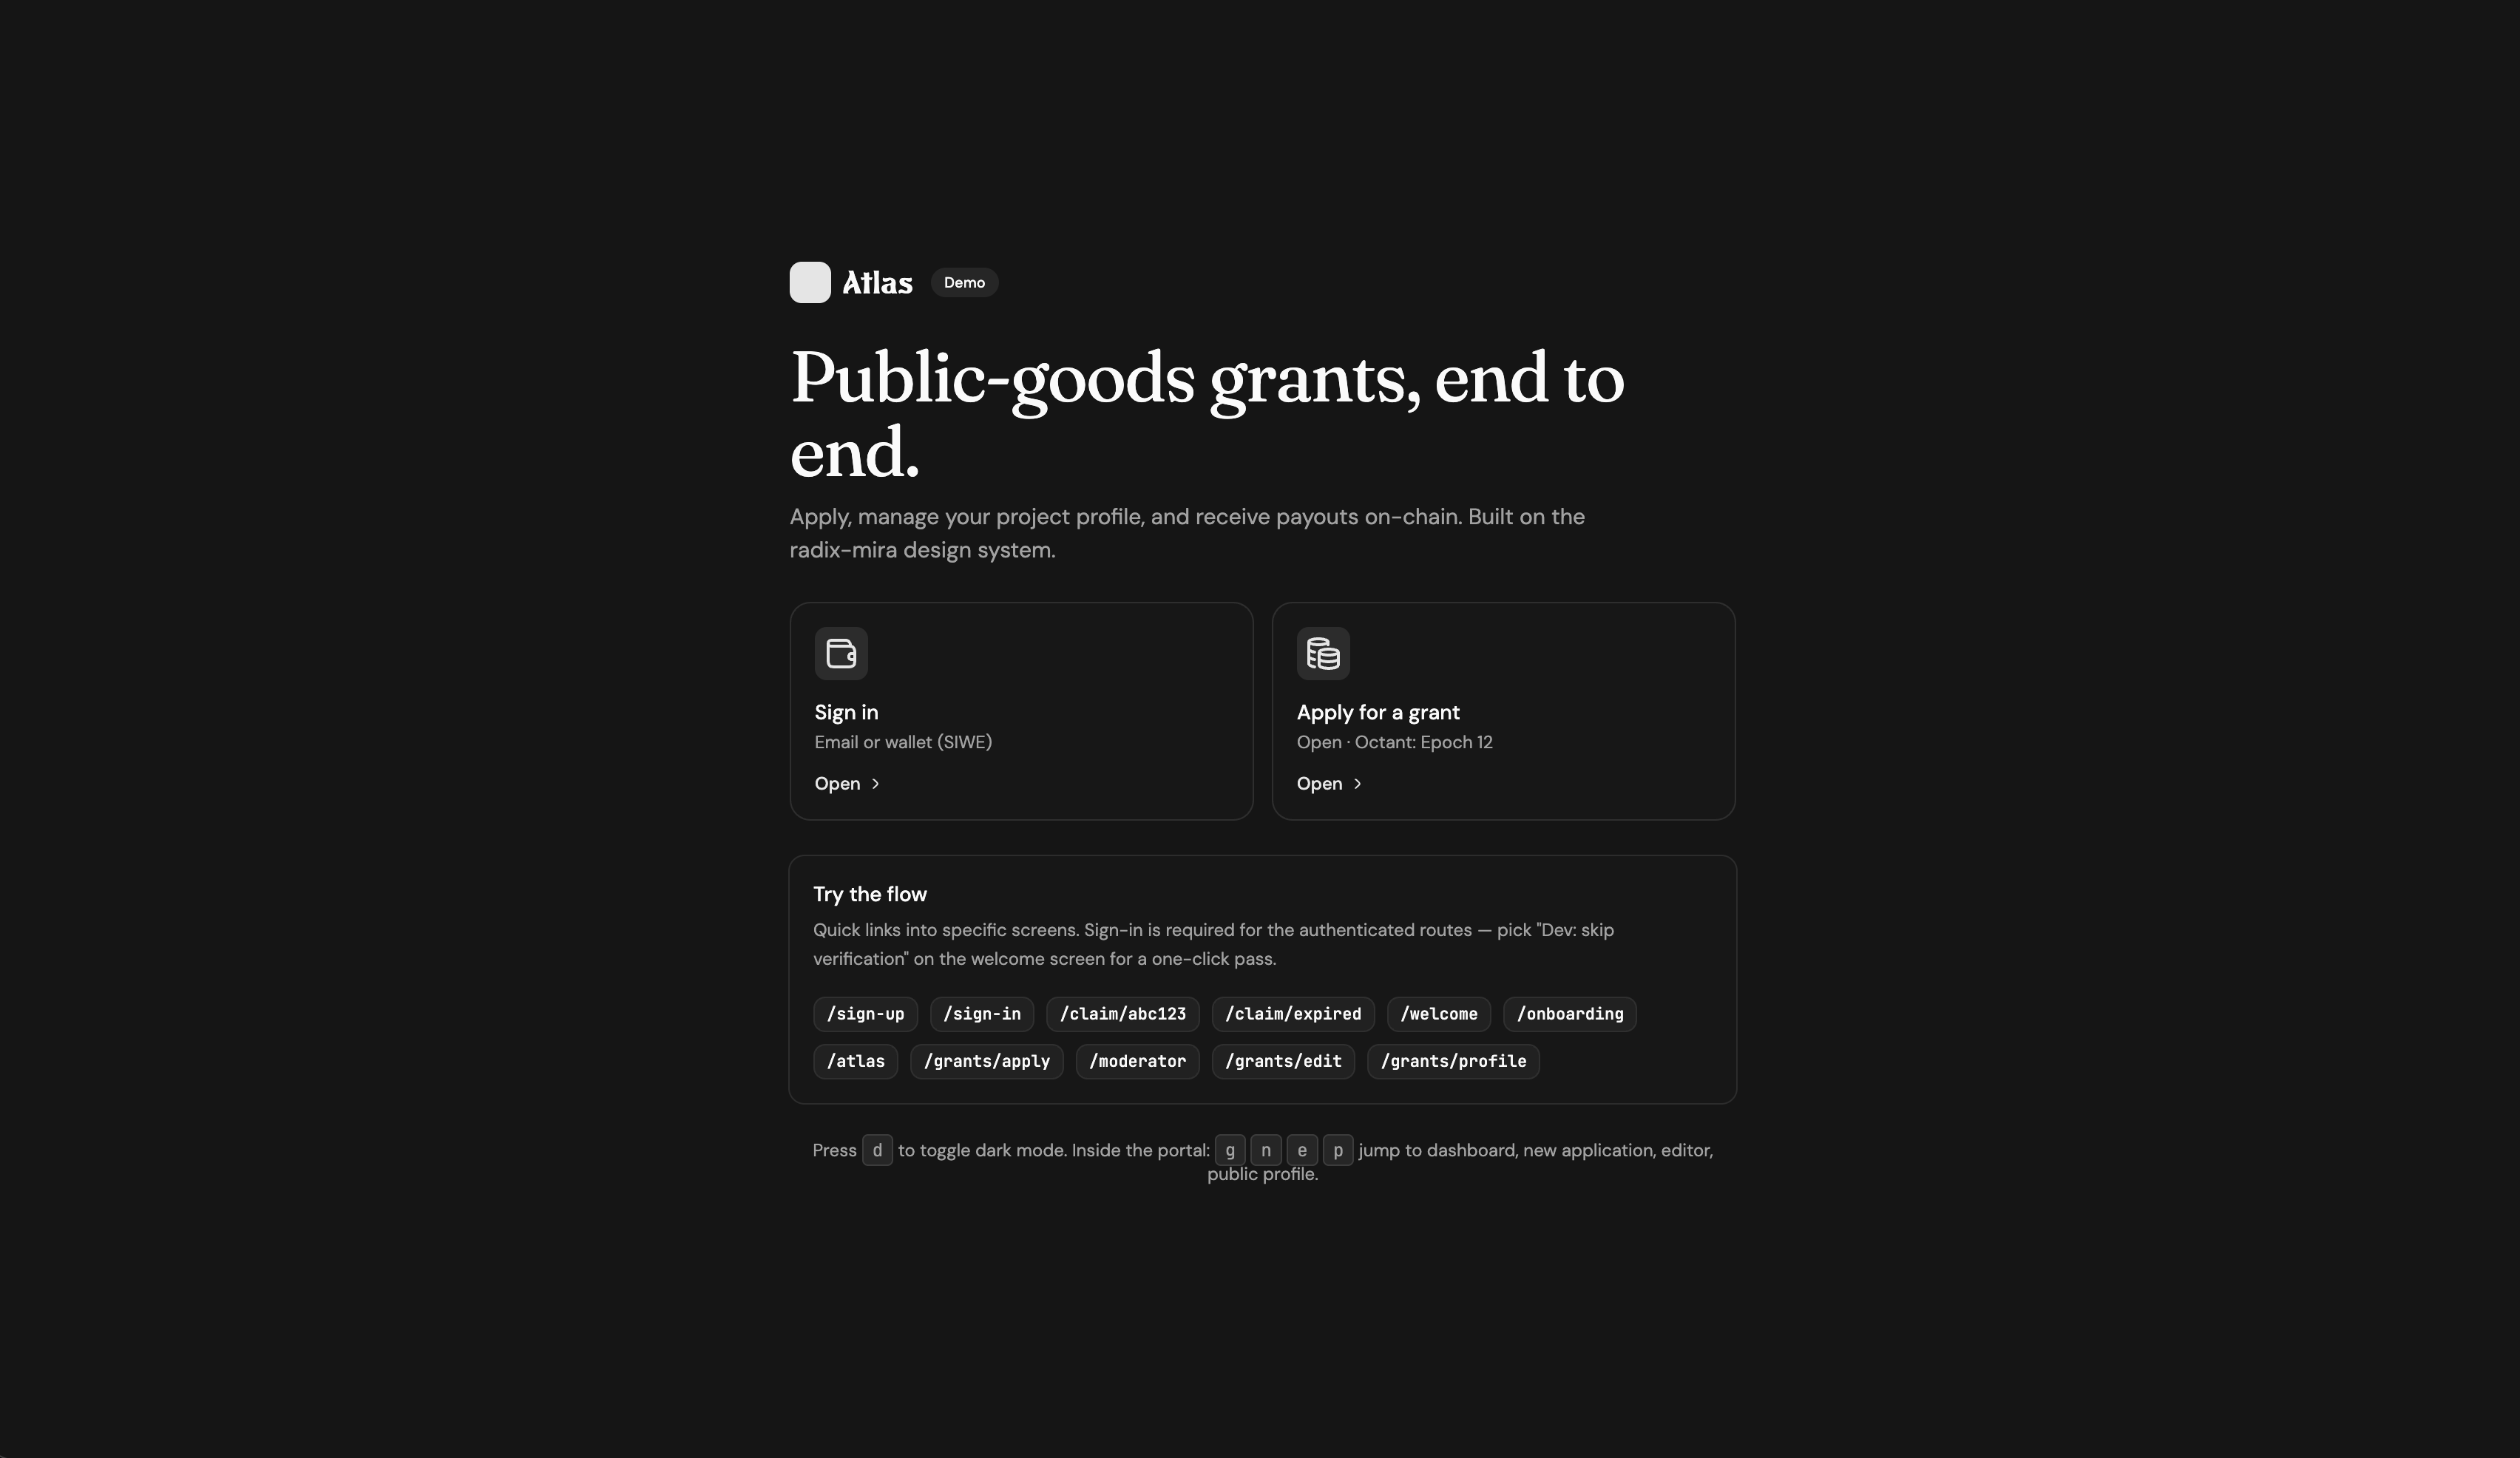
Atlas uses Sign-In with Ethereum (SIWE, EIP-4361). Your wallet will open and ask you to sign a message that names the site and includes a nonce. Once you sign, you’re in. No email address or password is required.
The signature is only a verification message. It does not authorize a transaction or move any funds.
Phase 2 — Launch your project profile
After signing in, you’ll create your project profile by answering two questions. Each question appears as a single-screen prompt with a Back button and either an OK or Review action.
What’s your project called?
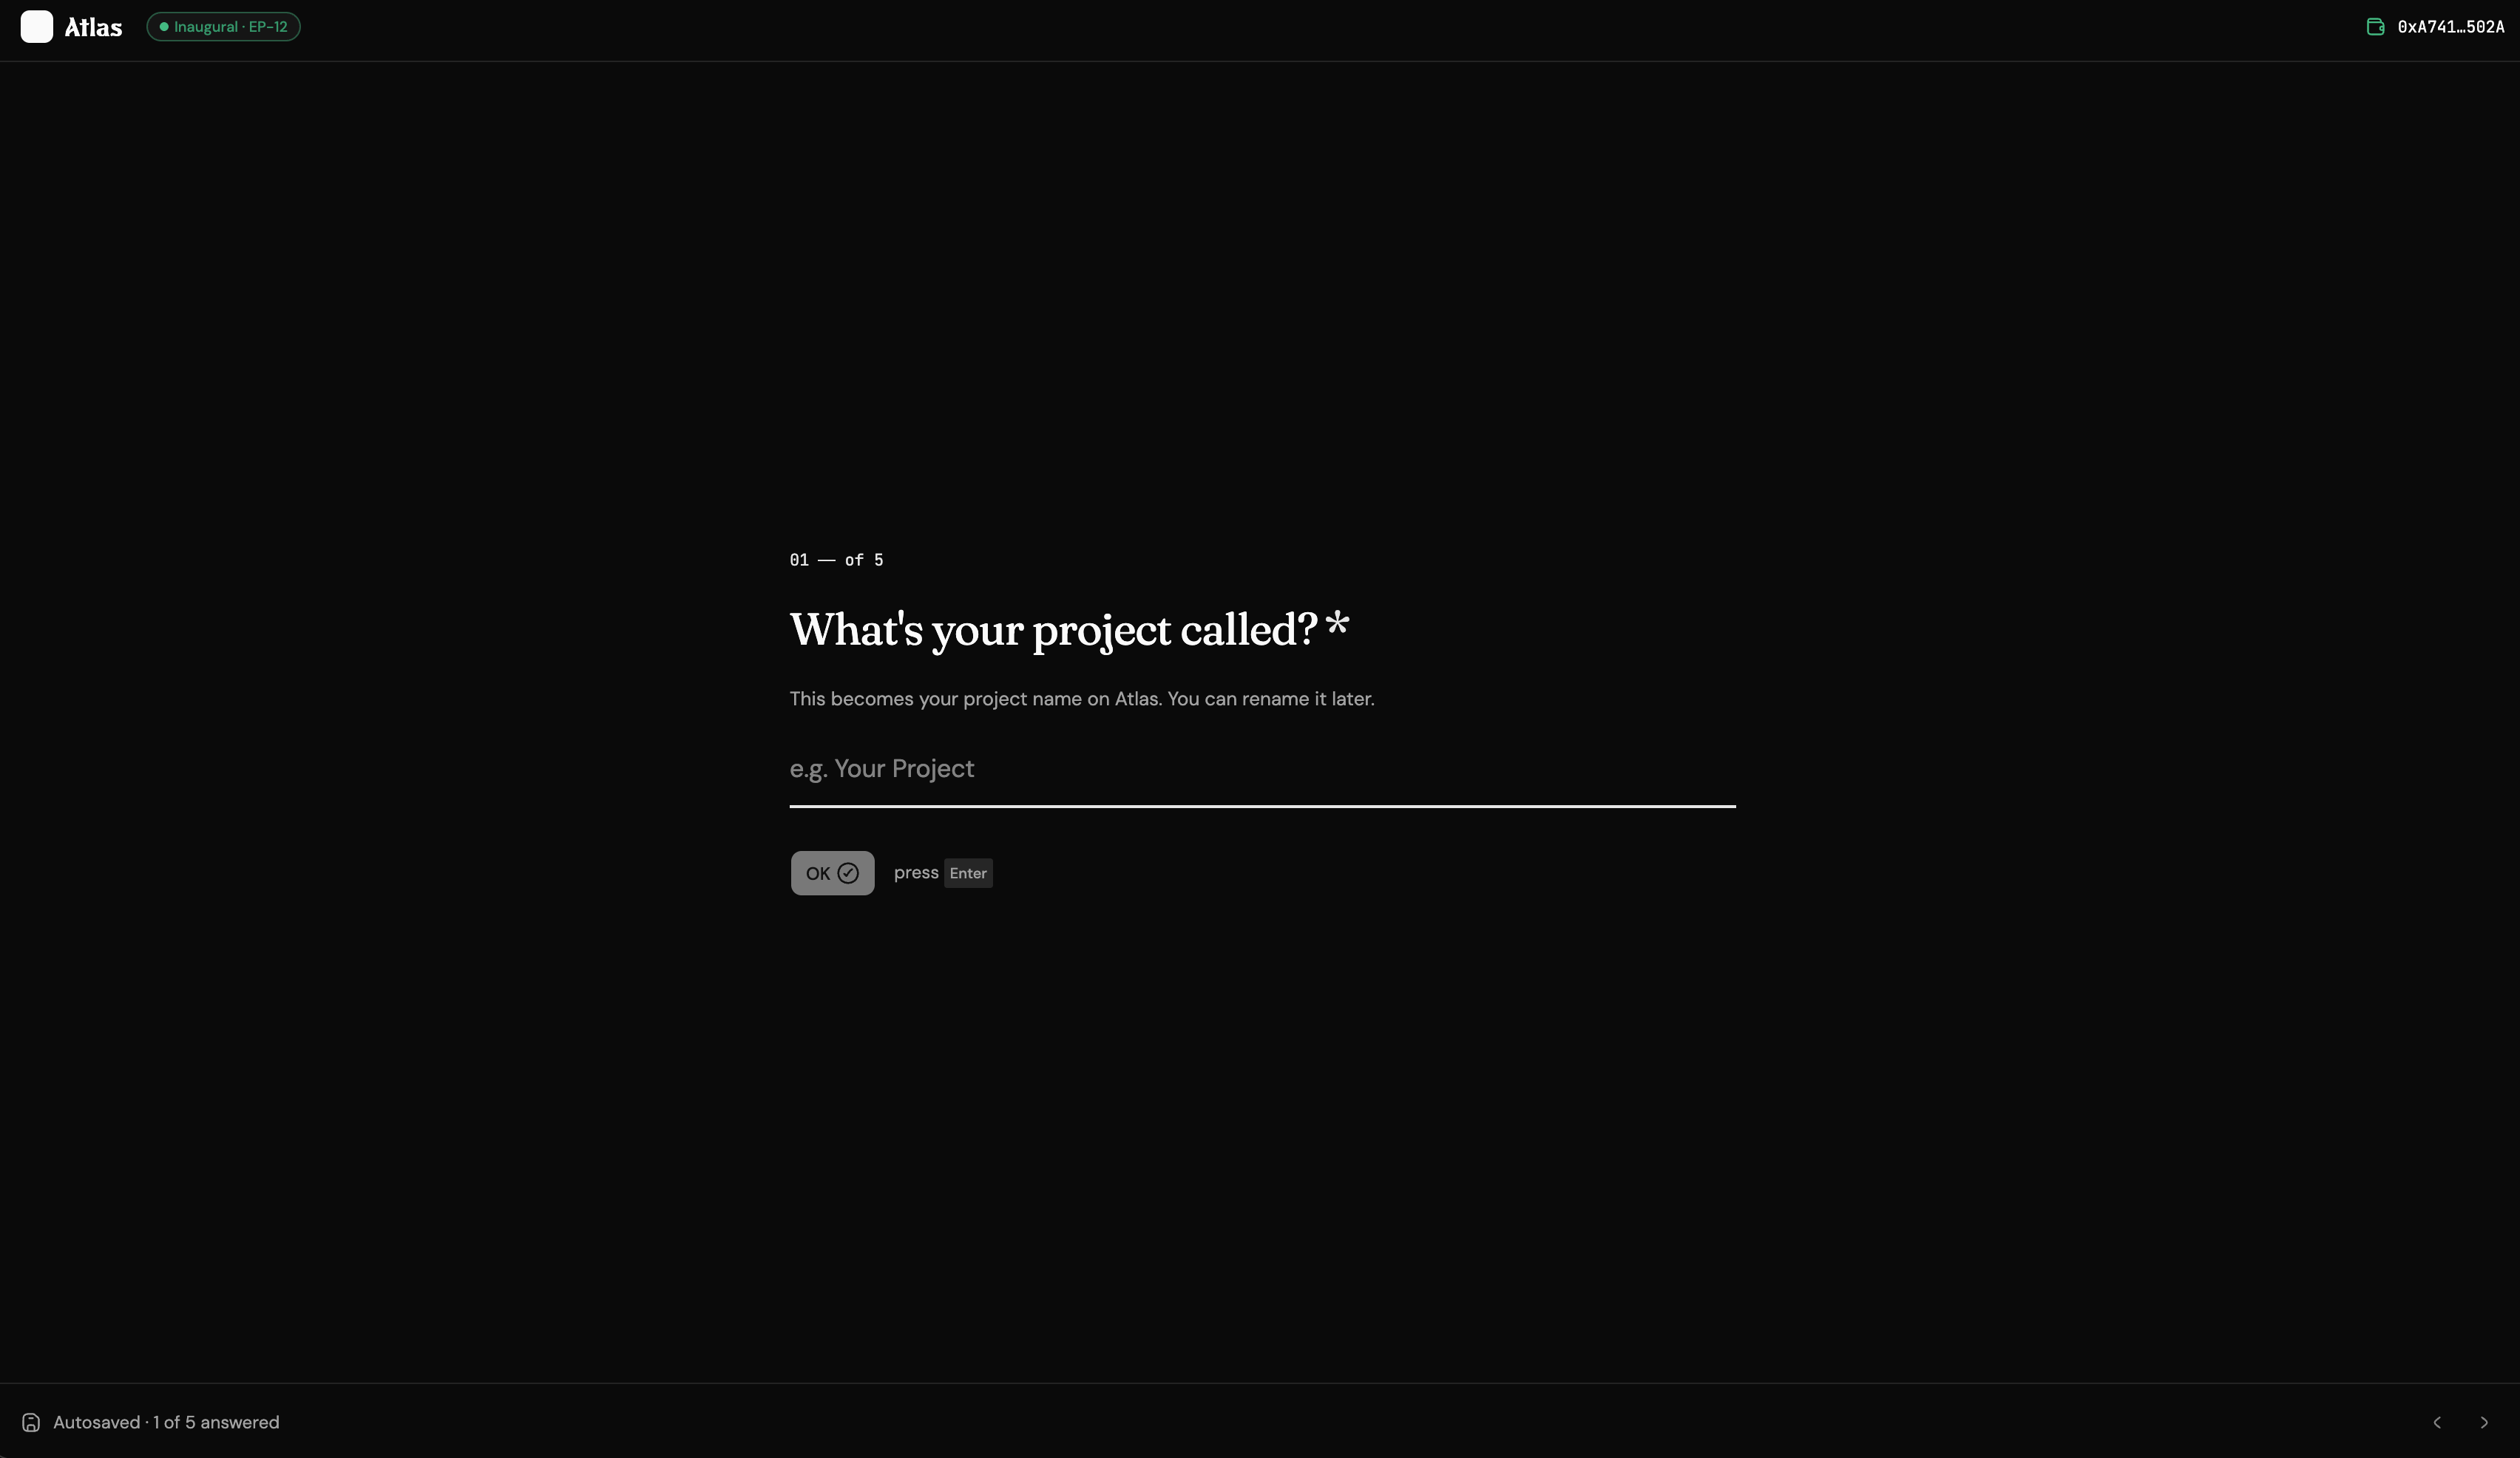
This becomes your project name on Atlas. You can rename it later.
Where should payouts go?
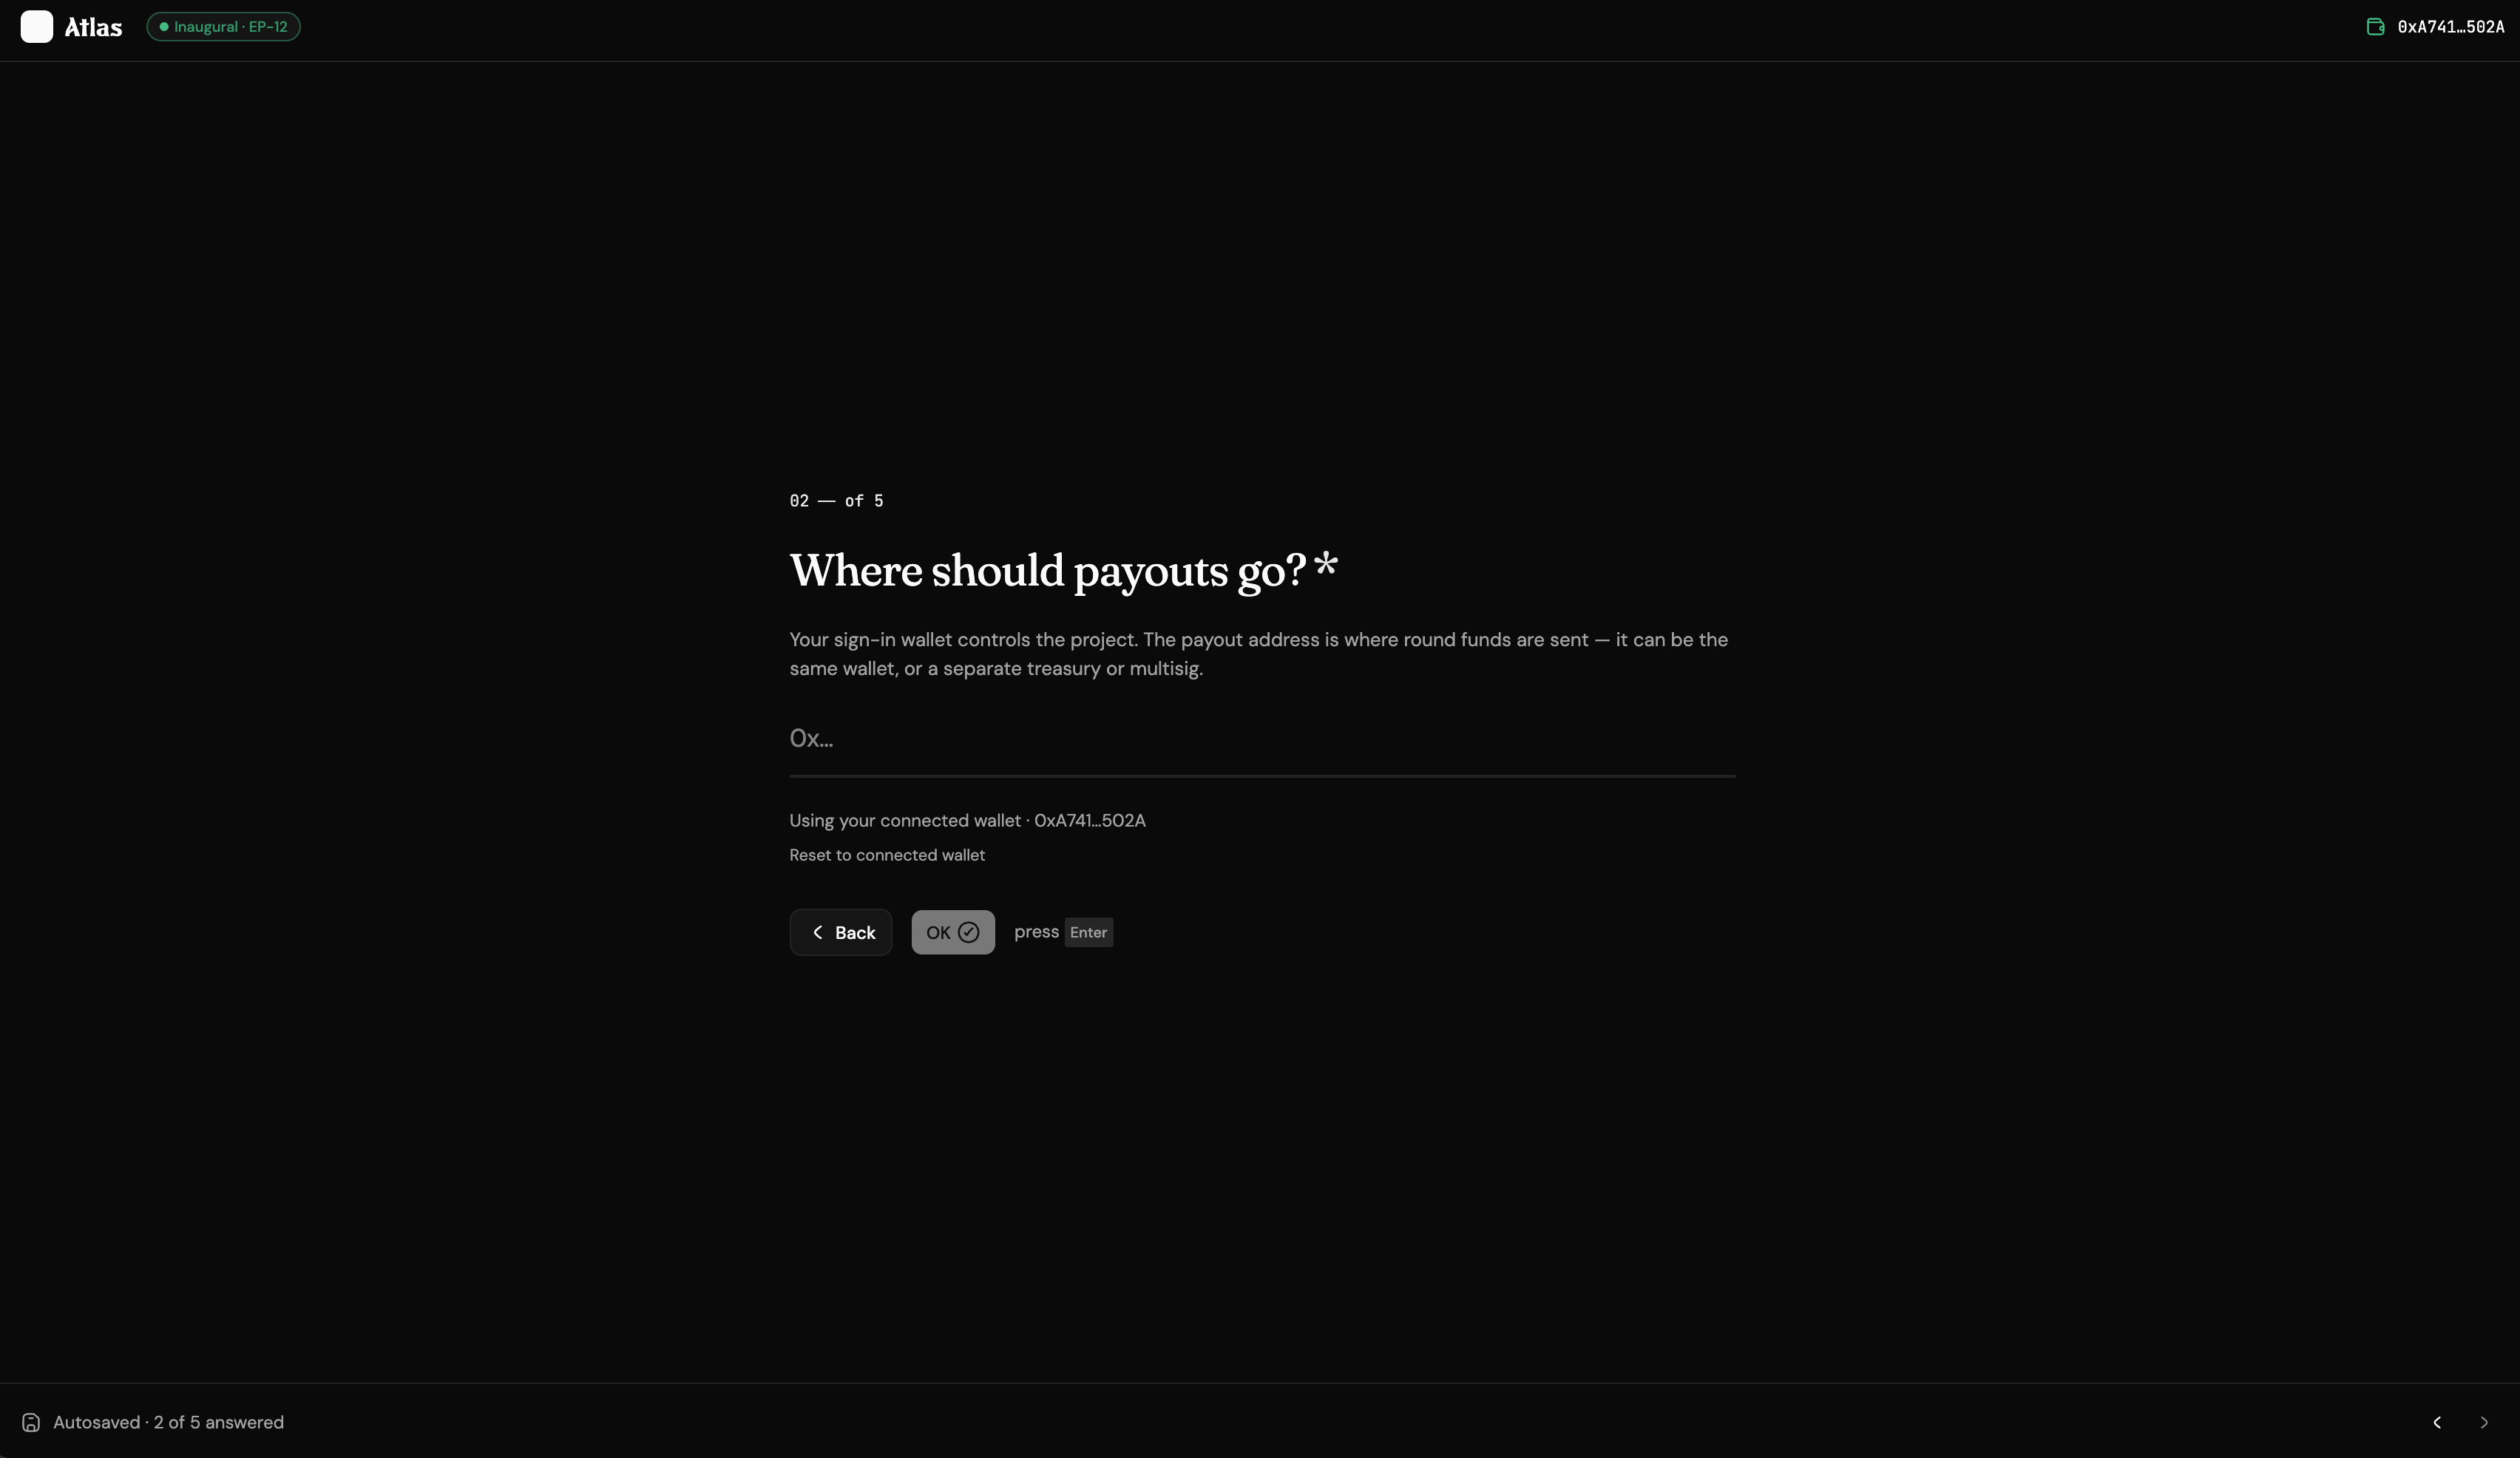
This field is pre-filled with your sign-in wallet address.
Your sign-in wallet controls the project and allows you to edit it. Your payout address is where round funds will be sent. It can be the same as your sign-in wallet, or a separate treasury or multisig.
Once an application is published, the payout address is locked until the round closes. You can change it again between rounds using the Profile editor.
After you confirm your payout address, Atlas shows a summary card with:
- your project name;
- the sign-in wallet used to sign in and edit the project;
- the payout address;
- information about the inaugural round you’re applying to, for example: Octant: Epoch 12, EP-12 · closes 2026-05-22.
Click Launch & begin application to create your project profile on Atlas and continue directly to the application wizard for the inaugural round.
Phase 3 — The Atlas dashboard
After launch, you’ll be taken to your Atlas dashboard. You’ll see this dashboard each time you sign in.

The dashboard includes:
- Top stats: Open Invitations, Your Applications, Requested Lifetime, and Profile Completeness.
- Tabs: Applications and Invitations. The Invitations tab lists rounds you can apply to, with an
Apply to <round name>button. - Left sidebar: Dashboard, Onboarding, Profile editor, Public profile, a
Roundsection listing rounds you’re invited to, and a Help section with keyboard shortcuts. The bottom of the sidebar shows your project name and a Manage in panel link. In a future update, this is where you’ll be able to add other editors. - Right rail: Round summary and round timeline, with markers for opening and closing dates, office hours, submission and review deadlines, voting period, and payout timing.
During office hours, you’ll be able to ask the Octant team questions about the round.
To apply to a round, choose an open round and click Apply to <round name>. You can also click Apply now in the Open Invitations card.
Phase 4 — The application wizard
Applying to a round involves a short questionnaire. It takes about 5–10 minutes. Drafts auto-save after every step, so you can save your progress and come back later.
You’ll need:
- a one-line tagline, up to 90 characters;
- your project category and stage;
- a short description of what you’re building;
- the amount you’re requesting;
- a short explanation of how you’ll use the funding;
- links to your work, such as your website, repo, app, or demo.
How would you pitch [Project] in one sentence?
Add a short pitch line, between 20 and 400 characters. This will appear across the funding round.
Which category fits best?
Choose one category:
- Civic Tech
- Open Source Infrastructure
- Digital Commons
- Education & Research
- Environment & Climate
- Other
What stage is [Project] at?
Choose one stage:
- Idea
- Prototype
- Beta
- Production
- Mature & maintained
Tell us what you’re building
Explain your project in 2–4 paragraphs. Describe what it does, who it serves, and why it matters.
What is your funding goal?
Enter the amount you’re requesting in USD.
How will you use the funding?
Explain how you’ll use the funding in 20–1200 characters. Be specific. Reviewers favor concrete plans.
Where can we see your work?
Add any relevant links, such as your website, repo, app, demo, documentation, or social profile.
URLs are validated. If you forget the protocol or mistype the URL, you’ll see an inline error.
Review & apply
Review your answers before submitting. This step is similar to Review & launch in Phase 2.
Submit the application to publish it.
Phase 5 — After you submit
Three things change once your application is published.
1. Your dashboard updates
Your application appears in your dashboard, and its status is reflected in the Applications section.
2. Your public profile goes live
Your public profile goes live at:
/atlas/<project-slug>/profile
It pulls from your application and profile details, and can include:
- project name and tagline;
- category badge, such as Civic Tech;
- stage badge, such as Production;
- requested funding amount;
- activity or contribution highlights, where available;
- About section;
- How funds will be used section;
- Impact so far and Team sections;
- project links.
The Impact so far and Team sections start blank. You can fill them in later from the Profile editor in the sidebar.
If you need to edit any profile fields, click Edit profile in the top-right corner.
Between rounds, the Profile editor lets you change your payout address, polish your public profile, and add team or impact information. During an open round, the payout address is frozen.
3. Your project access panel becomes available
From the project menu in the dashboard, you can open Project access.
Adding new members is not available yet. For now, only the project owner can edit the profile and applications.